Sony VPL-CX85: Projector Lamp Replacement Video Tutorial
In this short video you will see how to replace a bulb with housing in a Sony VPL-CX85 projector. The procedure for other Sony models will be similar. In this demonstration, the entire lamp housing is replaced with a new one. If you have purchased a bare bulb without housing, have a look at the video on replacing bulbs in housing.
Subtitle transcription
- Turn off the projector by pressing the Power switch
- Let the projector cool down for at least 30 minutes
- Unplug the projector
- Remove the screws that hold the lamp’s cover and take off the lamp’s cover
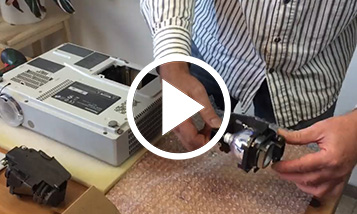
- Remove the two screws that hold the lamp housing
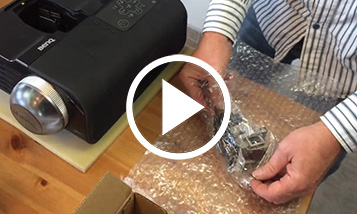
- Pull out the lamp housing
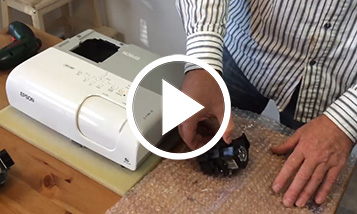
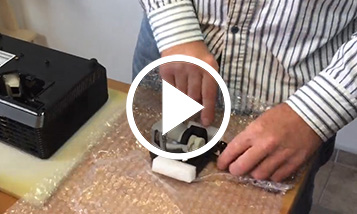
- Unpack the new lamp
- If you purchased bare bulb without housing, check out our video Replacing a bare bulb in projector lamp housing
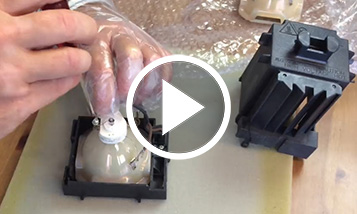
- Be careful not to touch the bulb with bare hands
- If necessary, use plastic gloves
- Insert the new lamp and tighten it
- Return and secure the cover back in its position
- Clean or replace the dust filter
- Plug the projector in but don’t switch it on yet
- Perform a reset of lamp hours. Press the following keys on the Remote Commander in the following order for less than five seconds each: „Power“, „<=“, „=>“. „Enter“.